Showing posts with label DIY. Show all posts

Sunday, January 29, 2012

Mario Party!

My baby big boy is now FOUR. How does that happen!? It was so much fun this year. He is currently infatuated with Mario. So he chose his own theme without any hesitation! Pinterest was my best friend for inspiration. My original plan was to order a couple Mario themed party supplies & then mix and match with my own creativity. However . . that back fired when I did not find any Mario anything anywhere. C'mon now! It's not THATTT oldschool is it!? So I was on my own.

I was able to bring in an image for our cake idea & the bakery did a great job on that. :)

'One up' cupcakes were easy enough. The 'spots' are actually white chocolate that I grabbed from the bakery. & I printed out some little graphics to spruce up the tower.

I did ghost balloons! Thank you Pinterest. Super simple and so cute.

Chocolate mustaches. Grabbed a mold from Michael's for $1.99. Everyone had fun with these!

Even my grandma. ;)

I also grabbed some posterboard and made 'Pin the Mustache on Mario!'. He's really a simple character to draw so I did just that.


A phone picture for these . . because they were scooped up before I could take a 'nice' picture. These mushroom bags were easy peasy!

Big recommendation for those who may have a Mario party in the future. . EBAY. You can get so many very well priced favors & such. I scooped out super cute necklaces & buttons from there for .. next to nothing.

I did labels for our drink cups so everyone could write their names & then I took the same labels and added some text in MS Word to say thank you for coming . . and seal the treat bags shut with those. Feel free to use them if you like!
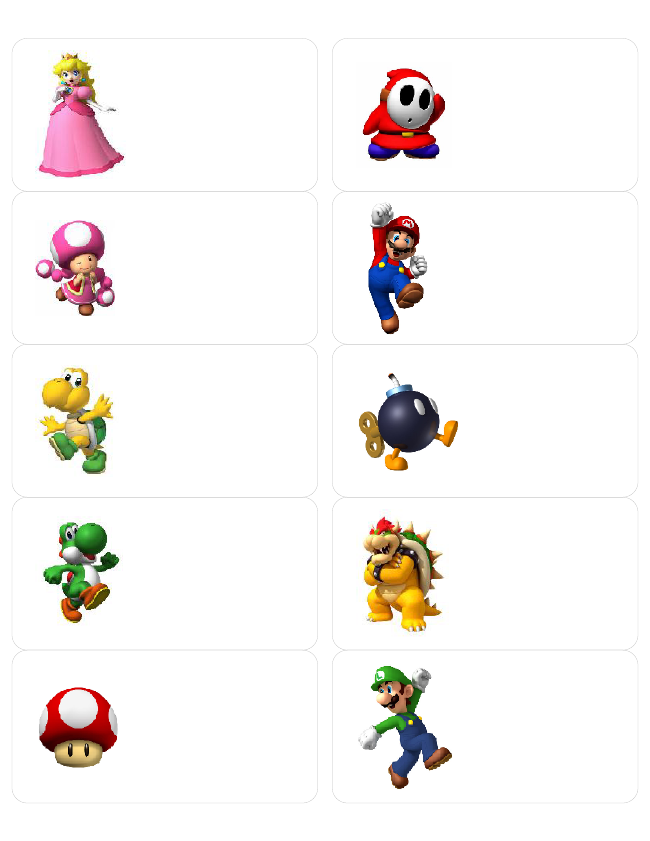

The turn out was great! I felt so frazzled scrambling to get everything done, but I think . . it went very well. & now . . I have a nice 4 month break before the next party. :D


<3

Wednesday, December 14, 2011

DIY Magazine File .. success.

Another Pinterest win. Ah, where have you been all of my life! So, thanks to online freebies & deals . . I have magazines rolling in like crazy. I needed storage! I browsed around a bit in stores, with no luck in really finding anything I like. I didn't want to end up with a $10 magazine file that I didn't even care for. I saw from other blogs that Ikea carries a pack of 5 cardboard magazine files for $1.99. Which just made me sad . . because good ole Louisiana does not have an Ikea. I think driving to Texas for them would maybe defeat the purpose a bit, yeah? So it was on to Pinterest where I found a DIY inspiration! Using recycled boxes to cut and make your own. Sounded easy enough.

I started with picking some scrap papers for the front of my file boxes. These are for my living room shelves. I mostly have greens & yellows in there at the moment, but I decided to go ahead and add a couple other muted colors.


Fortunately (& unfortunately for my wallet), I do a lot of online shopping so boxes were easy to find. First thing I did was tape my box up nice & secure. Then I decided on my shape and got to cutting. I actually did my cutting with a steak knife (lol, I know!) and then I just neatened up my edges with a box cutter.


Then I thought for a bit whether or not to paint my boxes white, but I decided that the rough edges of cardboard would still be there and I knew it would irk me. So I pulled out some big sheets of art paper that I have leftover from college. It's really sturdy so I knew it would help the structure of the file and give me smooth edges. I would recommend poster board or something of that nature! (Or you can paint them if you'd like or cover with fabric!) So I traced around my sides, leaving some room to fold under and glue.


& tada! Smooth edges. Yes, by this time .. I was making a big mess of my carpet and smacking myself for not doing this at the table.


Just as I am getting to the part where I need to make a front to my file, UPS knocks on the door and brings me just what I was needing. :)


Now you could just as easily modge podge your paper to the front of the file. I decided that I was giddy to use my laminator, and it would make cleaning my magazine files a breeze. So that is just what I did.


Then . . after I glued my front down in place, I added a little grosgrain ribbon to the top & a laminated label. Presto! One magazine file down.


Once I have my kiddos to sleep, I will be working on my others. I plan to mix match the colors between the front paper, labels, and ribbons. I'll update again when I have them all neatly on my shelves!

<3

Monday, August 8, 2011

Good, good, good.

Good food, good (great) mail day, and a good start to a project! Thissss is how I would like to start every week.


Can't wait to share more of Ian's room as I tackle some ideas. :)